A Case Study showing how PiPi, a generative pfp project, registers derivatives of Story’s official Ippy mascot.
PiPi is a free generative pfp project on Story that lets you mint derivative artworks of Ippy, Story’s official mascot. Ippy has Non-Commercial Social Remixing (NCSR) terms attached, which means anyone can use it or create derivative works as long as it’s not used commercially and proper attribution is shown.
Original Ippy
View the original Ippy mascot on our explorer.
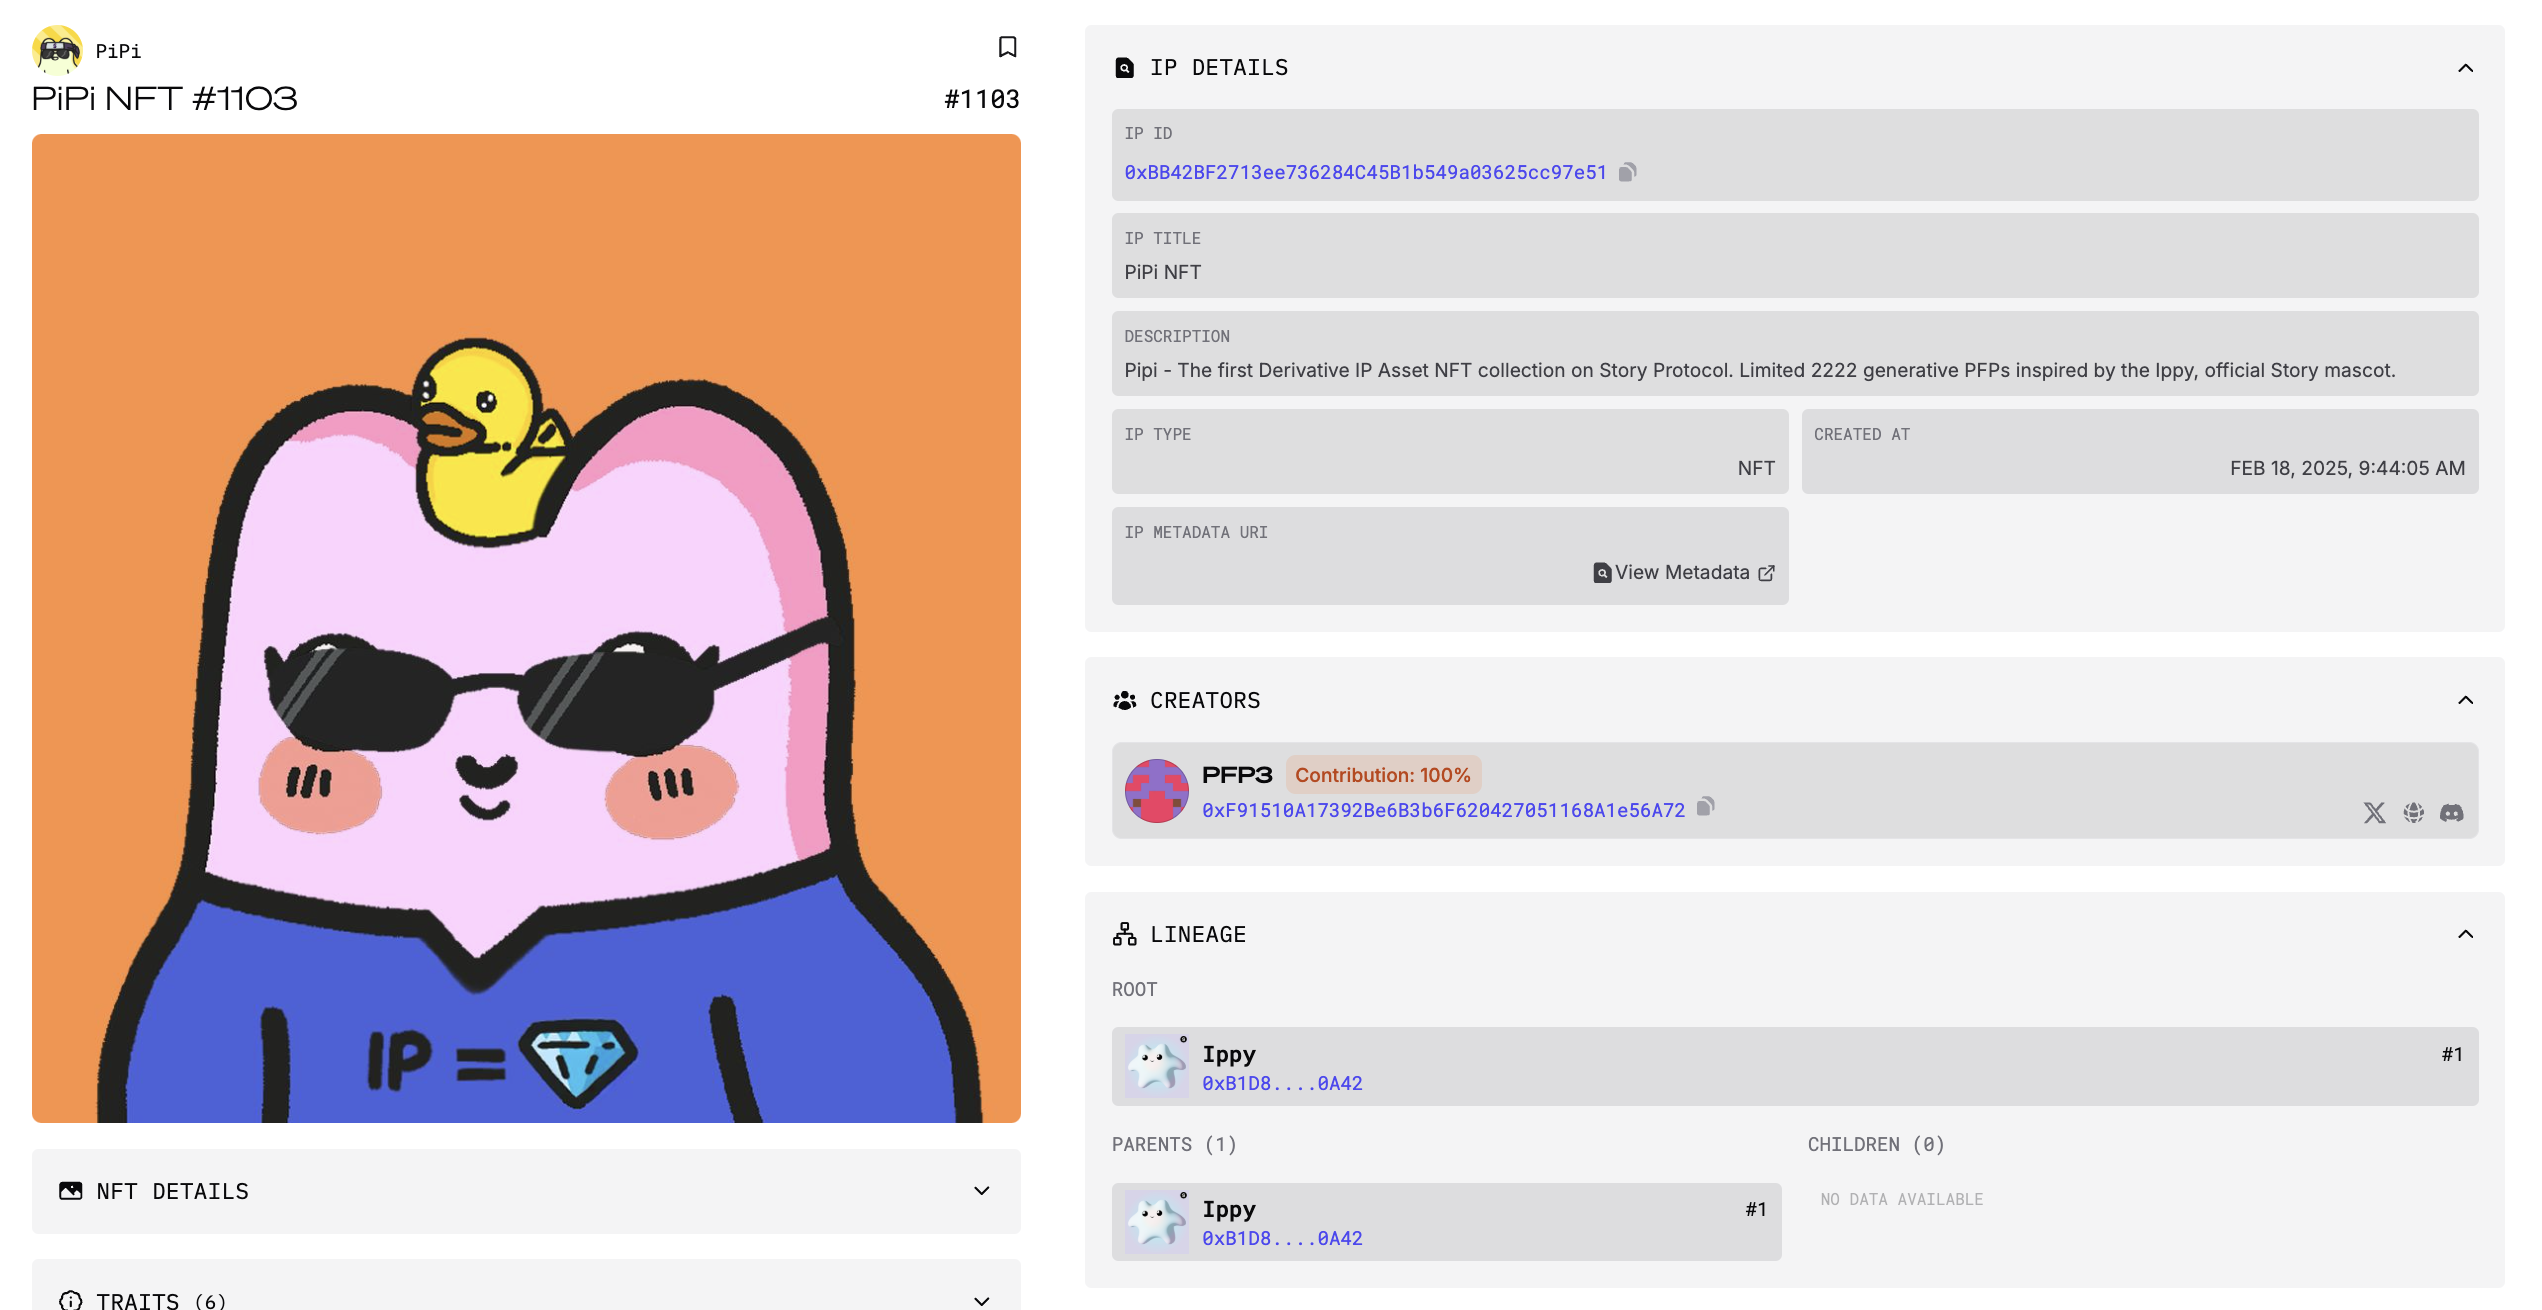
PiPi Derivative
View a derviative PiPi on our explorer.
View PiPi Contract
View the PiPi contract source code.
When a PiPi is linked as a derivative of Ippy, it automatically inherits the same license terms (NCSR) and is linked in its ancestry graph, which you can see directly on our explorer:
In the following tutorial, you will learn how exactly these PiPi images were properly registered as derivatives of the official Ippy IP.
When you want to register an IP on Story, you must first mint an NFT. This NFT represents the ownership over the IP Asset.
View PiPi Contract
View the PiPi contract source code.
Here is part of the _mintNFT function in the PiPi.sol contract:
PiPi.sol
contract PiPi is ERC721, Ownable, IERC721Receiver { // ... some code here ... function whitelistMint() external payable returns (string memory, address) { require(whitelistMintEnabled, "Whitelist mint is not active"); require(whitelist[msg.sender], "Address not whitelisted"); require(mintedCount[msg.sender] < WHITELIST_MAX_P_WALLET, "Whitelist mint limit reached"); require(_totalSupply < MAX_SUPPLY, "Max supply reached"); return _mintNFT(msg.sender); } function _mintNFT(address recipient) internal returns (string memory, address) { uint256 newTokenId = _totalSupply + 1; _safeMint(address(this), newTokenId); address ipId = _registerAsIPAsset(newTokenId); string memory nftUri = tokenURI(newTokenId); bytes32 metadataHash = keccak256(abi.encodePacked(nftUri)); CORE_METADATA_MODULE.setAll(ipId, nftUri, metadataHash, metadataHash); registerDerivativeForToken(ipId); _safeTransfer(address(this), recipient, newTokenId, ""); // ... more code here ... return (nftUri, ipId); }}
As you can see, the user calls whitelistMint which then calls _mintNFT after checking if the user is on a whitelist. On line 16, we are then minting a new NFT to the contract.
Why do we mint an NFT to the contract and not the user?We later have to register the IP as a derivative of Ippy. Only the owner (the address holding the NFT) can register an IP as a derivative of another. So, we will mint the NFT to the contract => contract registers NFT as IP and then later as a derivative of Ippy => transfer NFT to the user.
Now that we have registered a new IP Asset, we can take our metadata from before and set it on the NFT & IP with the CoreMetadataModule.sol. As described here, we need to set 4 params:
nftMetadataHash
nftMetadataURI
ipMetadataHash
ipMetadataURI
PiPi.sol
// handles the NFT's `nftMetadataHash`// handles the IP's `ipMetadataURI` and `ipMetadataHash`function _mintNFT(address recipient) internal returns (string memory, address) { // ... some code here ... string memory nftUri = tokenURI(newTokenId); bytes32 metadataHash = keccak256(abi.encodePacked(nftUri)); CORE_METADATA_MODULE.setAll(ipId, nftUri, metadataHash, metadataHash); // ... some code here ...}// handles the NFT's `nftMetadataURI`function tokenURI(uint256 tokenId) public view override returns (string memory) { return string(abi.encodePacked(_baseUri, StringUtils.uint2str(tokenId), ".json"));}
Now that we have minted an NFT, registered it as IP, and set proper metadata, we can register it as a derivative of Ippy. The PiPi.sol contract uses registerDerivativeForToken to handle this:
This function calls registerDerivative in the Licensing Module, with:
ipId: the new ipId we got in step 3
parentIpIds: an array that contains Ippy’s ipId, which is 0xB1D831271A68Db5c18c8F0B69327446f7C8D0A42
licenseTermsIds: an array containing 1, which is the license term ID of Non-Commercial Social Remixing (NCSR). This means the derivative can use Ippy for free but not commercialize it
Now that the contract has handled registering the IP as a derivative, it transfers the NFT to the user to have ownership over the PiPi IP:
PiPi.sol
function _mintNFT(address recipient) internal returns (string memory, address) { // ... some code here ... _safeTransfer(address(this), recipient, newTokenId, ""); // ... some code here ...}