This tutorial will show you how to integrate purchasing $IP with Apple Pay, Venmo, Debit Card, Bank, and more into your DApp with Halliday.
This tutorial is a React/Next.js tutorial. It is also based on the Halliday Docs.
Here is what the end result will look like:
Halliday Payment End Result

Instructions

1

Get an API Key

In order to use Halliday, you will need to get an API key. Right now the process is to email partnerships@halliday.xyz. But this may change, so I recommend checking the Halliday Docs for the most up to date information.
2

Install Halliday

Next, install the Halliday Payments SDK in the root folder of your project.
npm install @halliday-sdk/payments
3

Setup Your .env

In your .env file, add your Halliday API key.
NEXT_PUBLIC_HALLIDAY_PUBLIC_API_KEY=your-api-key
4

Integrate Halliday

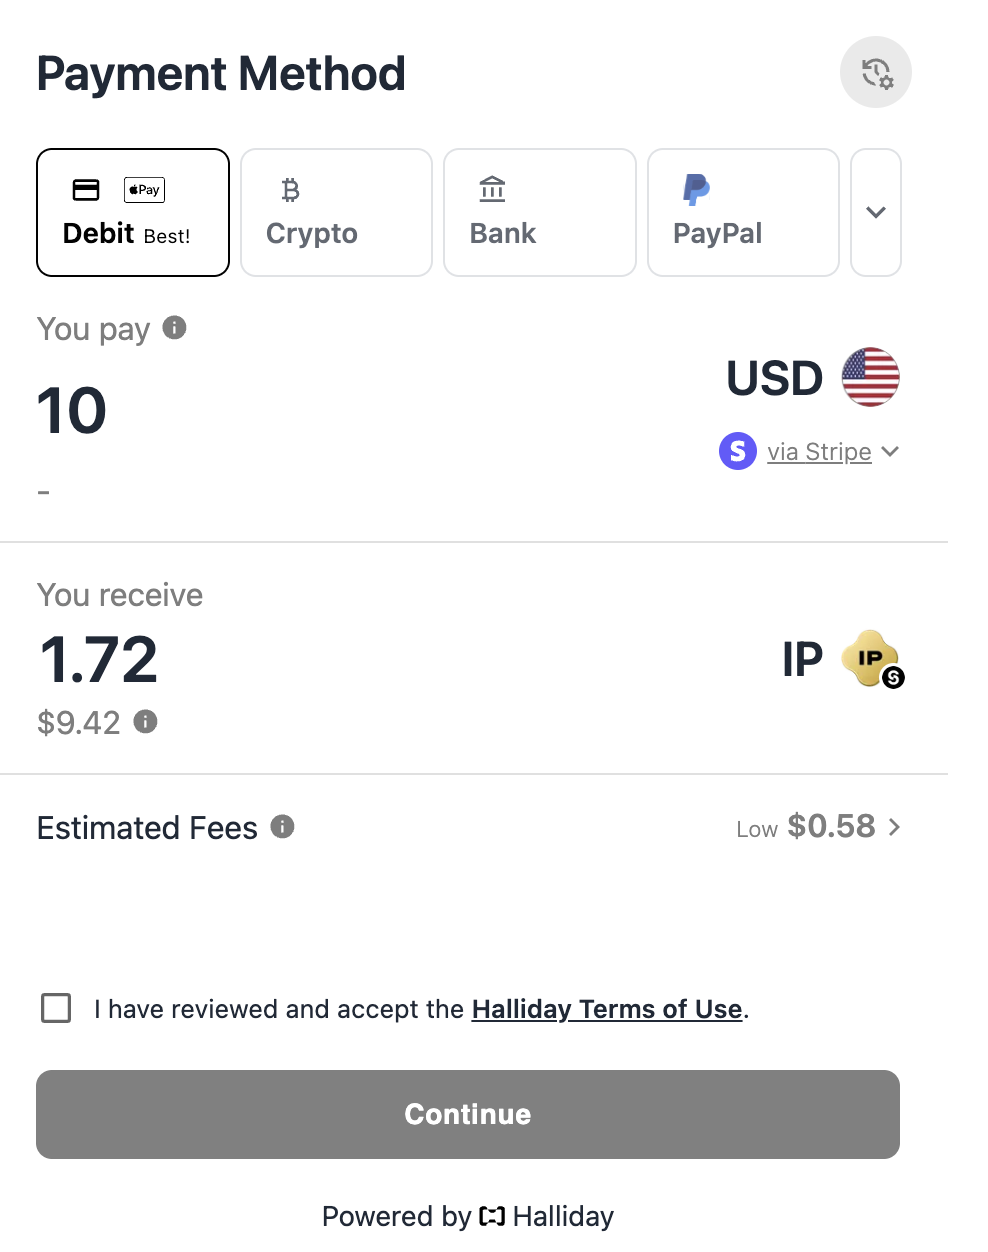
Lastly, integrate Halliday Payments into your existing application with a few lines of code.
In this example, we make it so that the Halliday popup is embedded in a div with the id halliday-embed. Such that when the user loads the page, it is already there. However you can change this so that it pops up when the user clicks a button. Check out the Halliday Docs for more information.
"use client";
import { openHallidayPayments } from "@halliday-sdk/payments";
import { useEffect } from "react";

export default function Home() {
  useEffect(() => {
    openHallidayPayments({
      apiKey: process.env.NEXT_PUBLIC_HALLIDAY_PUBLIC_API_KEY as string,
      // $IP on Story
      outputs: ["story:0x"],
      // $USDC.e on Story
      // outputs: ["story:0xf1815bd50389c46847f0bda824ec8da914045d14"],
      sandbox: false,
      windowType: "EMBED",
      targetElementId: "halliday-embed",
    });
  }, []);

  return (
    <div
      className="flex items-center justify-center min-h-screen bg-white"
      id="halliday-embed"
    ></div>
  );
}
That’s it! You can now use Halliday to purchase $IP on Story.